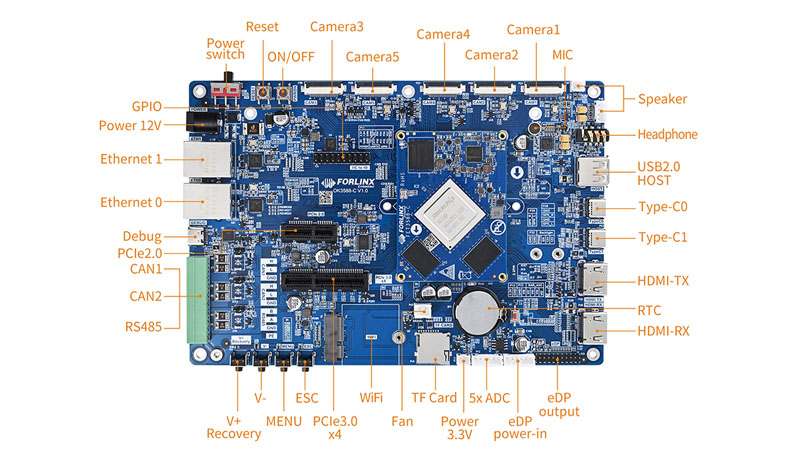
現在、顔認識技術はますます成熟しており、広く使用されています。 顔検出の実装は、顔認識テクノロジーの重要な部分です。 この記事では、OK3588-C Arm マザーボード上のビデオ監視に基づいて OpenCV 顔検出モデルを追加し、顔検出機能を迅速に実装する方法を紹介します。

実施方法
1. OpenCV に移動し、トレーニング済みパブリック モデル バージョンをダウンロードします: opencv/opencv at master (github.com)
ダウンロードして解凍した後、xml (\opencv-master\data\haarcascades ファイルの下) を静的ディレクトリにコピーします。
2. ビデオ監視コードを変更する
# Create a cascade classifier and load a .xml classifier file. It can be either a Haar feature or a classifier with LBP features
# face_detect = cv2.CascadeClassifier(r'./static/haarcascade_frontalface_default.xml')
face_detect = cv2.CascadeClassifier(r'./static/haarcascade_frontalcatface.xml')
def get_image_dataurl():
# (1). Read data from the camera. If the reading succeeds “ret” is TRUE , otherwise it is False. It is a three-dimensional array saved as image in the frame.
ret, frame = cap.read()
#Process gray-scale
gray = cv2.cvtColor(frame, cv2.COLOR_BGR2GRAY)
# Detect face in multiple spaces and return results (Face area coordinate information)
face_zone = face_detect.detectMultiScale(gray, scaleFactor=1.1, minNeighbors=8)
# Draw rectangles and circles to detect faces.
for x, y, w, h in face_zone:
cv2.rectangle(frame, pt1=(x, y), pt2=(x + w, y + h), color=[0, 0, 255], thickness=2)
# cv2.circle(frame, center=(x + w // 2, y + h // 2), radius=w // 2, color=[0, 255, 0], thickness=2)
# Display images.
# (2). First encode the array type into jepg data, then convert it to byte array, and finally encode it in base64
r, buf = cv2.imencode(".jpeg", frame)
dat = Image.fromarray(np.uint8(buf)).tobytes()
img_date_url = JPEG_HEADER + str(base64.b64encode(dat))[2:-1]
return img_date_url
RK3588 開発ボードの強力なパフォーマンスのおかげです。 高性能 GPU と NPU により、顔検出タスクを迅速に処理できます。 同時に、tornado フレームワークと OpenCV ライブラリを組み合わせることで、顔検出の実装がより効率的かつシンプルになります。 さらに、RK3588 開発ボードはさまざまなインターフェイスとプロトコルもサポートしており、さまざまなデバイスとシームレスに接続できるため、顔認識技術のアプリケーションにさらなる可能性をもたらします。
元は www.forlinx.net で公開されています。